Step-by-step instructions for create a custom PowerPoint template and master slides Presentation is one of the most popular communication tools. But, despite their effectiveness and clarity in presenting information, we often don’t have enough time and resources to carefully study the slides. Company employees have to deal with many presentations every day: sales proposals, product launches, quarterly reports, etc.
Even if there is no way to set by the preparation time, there is a way to create a presentation with a high level of quality. This is where PowerPoint templates help. You can use the standard one, for this you need to select it in the program itself or create your own template.
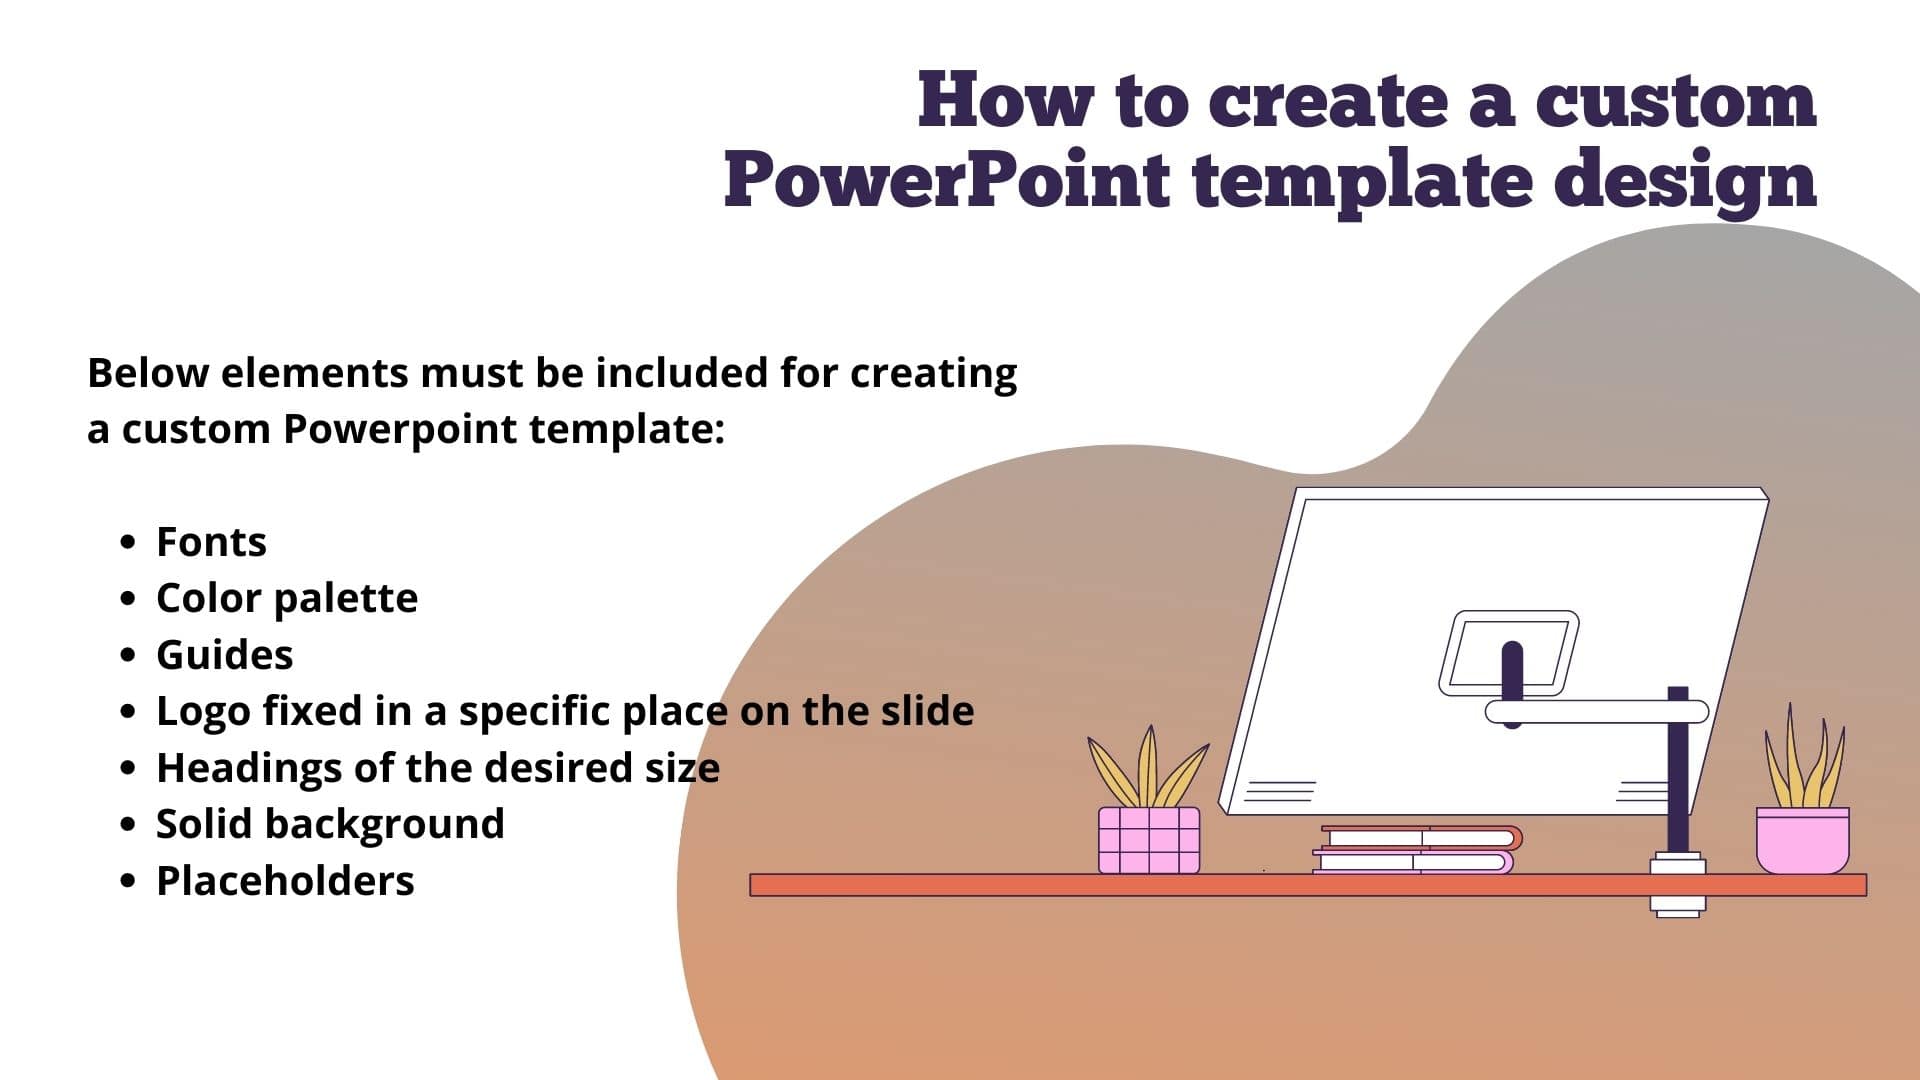
To create a custom PowerPoint template, must include elements that are repeated throughout the presentation. Usually this:
1 Fonts
2 Color palette
3 Guides
4 Logo fixed in a specific place on the slide
5 Headings of the desired size
6 Solid background
7 Placeholders
If in work you need to make any changes (for example, replace the font or some colors), you can do this once in the template, and the program will automatically correct the entire presentation.
Usefulness and advantages of using custom PowerPoint templates
Therefore, at this point I will tell you that the templates that we refer to here, help us to save a good amount of time and effort. The main reason for all this is that these are elements already pre-designed to a large extent by others. This means that, in reality, when opening a certain template, it gives us a good part of the work done. In most cases, this will focus on the design section, since the data that will make up the presentation is already up to us.
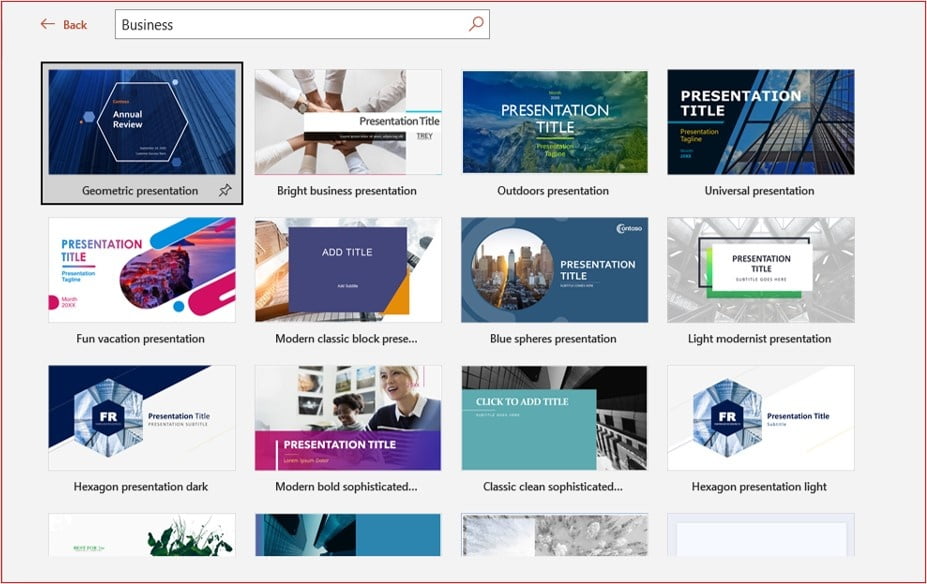
It is clear that what this is going to bring us is that we will not have to start certain projects from scratch, since they give us part of the design made. In this case, this is something that can become more than an interesting option for all those users who are not experts in the program in PowerPoint. You also have to know that on the Internet we can find many templates that we can download and use, as well as those offered by Microsoft itself.
But that’s not all when we talk about these elements, since the PowerPoint program also allows us to create our own personalized templates. Therefore, below we are going to show you how to create a custom PowerPoint template. It should be mentioned first of all that Microsoft PowerPoint allows users to set a custom template as the default when creating a new presentation. This gives us an advantage so that we can immediately start working on a slide show with a specific template.
Let’s create a custom PowerPoint template!
How to create a custom PowerPoint template
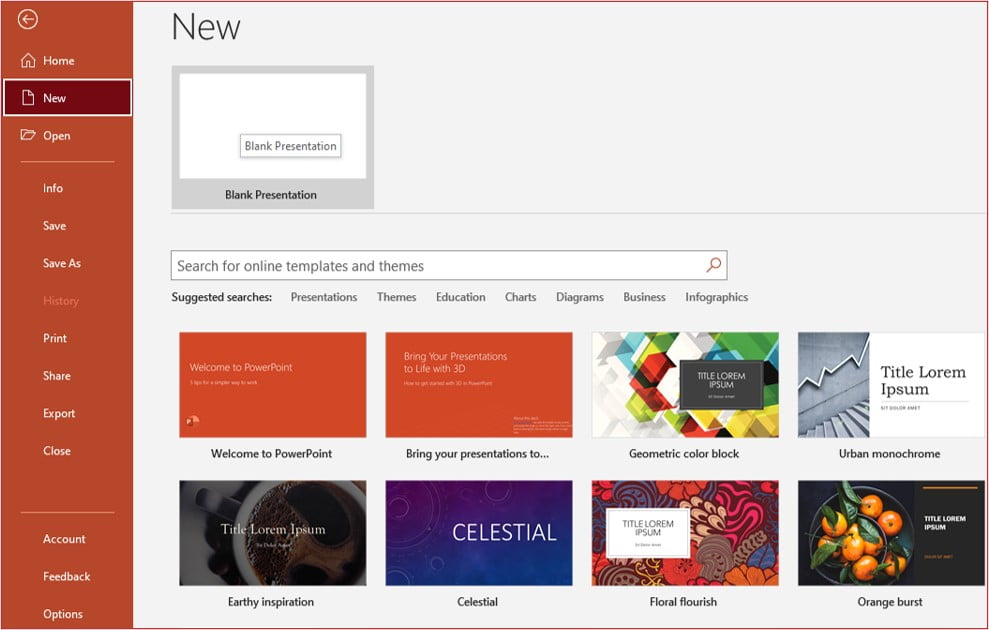
We will say that creating a new custom PowerPoint template in this Office program is very easy. To begin, the first thing you do is access the program itself and open a blank presentation. You do this through the “New” option on the left panel and then select “Blank Presentation” from the “template library“.
Next, once you have the blank presentation on the screen, to switch to template editing mode, on the “View” tab, click the “Slide Master” button. On the left is a thumbnail area that contains master and slide layouts with different placeholder locations. The top thumbnail always shows the master slide, and below it, the slide layout variations.
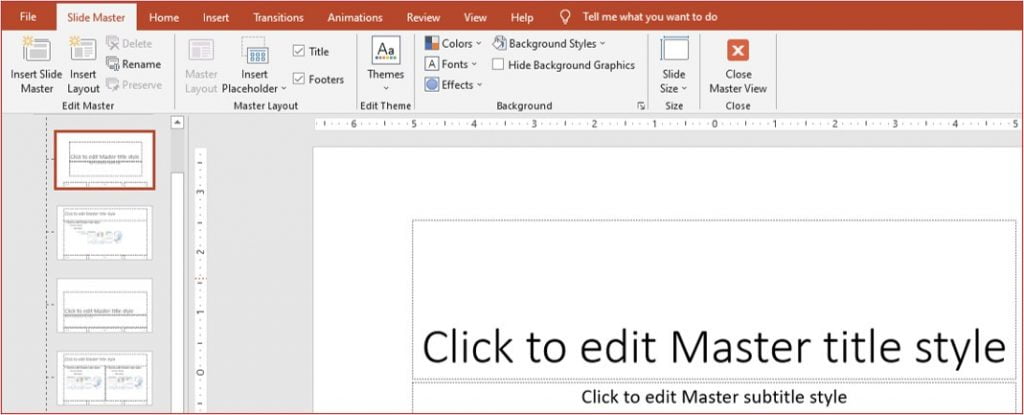
When you edit the master, all slides based on it will also change. Therefore, only the most important information should be included in the slide master: the title, source of information, and pagination in the correct place, and for specific slides, you need to change layouts or create them from scratch.
Setting up a custom PowerPoint template
Fonts
In the presentation, you can use fonts from ready-made combinations or customize your own. Regardless of your choice, the template can only set two fonts: one for the heading text, the second for the body text. After that, throughout the presentation, you must use one of them for all blocks of text.
To create new theme fonts, the following options are necessary:
Click on View Tab > Slide Master > Click Fonts down arrow from Background group > then click Customize Fonts….Create New Theme Fonts dialog box appears. From here you can set a suitable heading & body text and give a name for the new theme font in the Name box and click Save.

Color
The adjusted color palette allows you to first use the same colors and shades throughout your presentation, and then quickly change them all at once throughout your presentation if needed.
As with fonts, you can choose a ready-made color palette or customize your own color palette according to your company’s brand book or corporate colors.
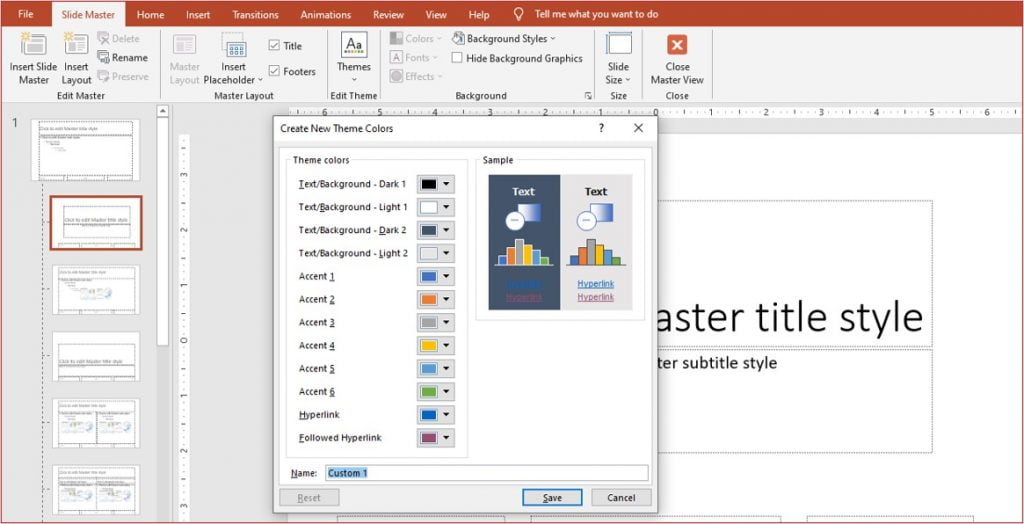
To create new theme fonts, the following options are necessary:
Click on View Tab > Slide Master > Click Colors down arrow from Background group > then click Customize Colors….Create New Theme Colors dialog box appears. From here you can set a new theme color and give a name for the new theme font in the Name box and click Save.
Guides
You need a presentation guide to show the “work area” and where to place the main content. No element or block of text should go beyond the guides, both vertical and horizontal. Then all slides will be the same in layout and visual image, which will give a single and overall image of the entire presentation.
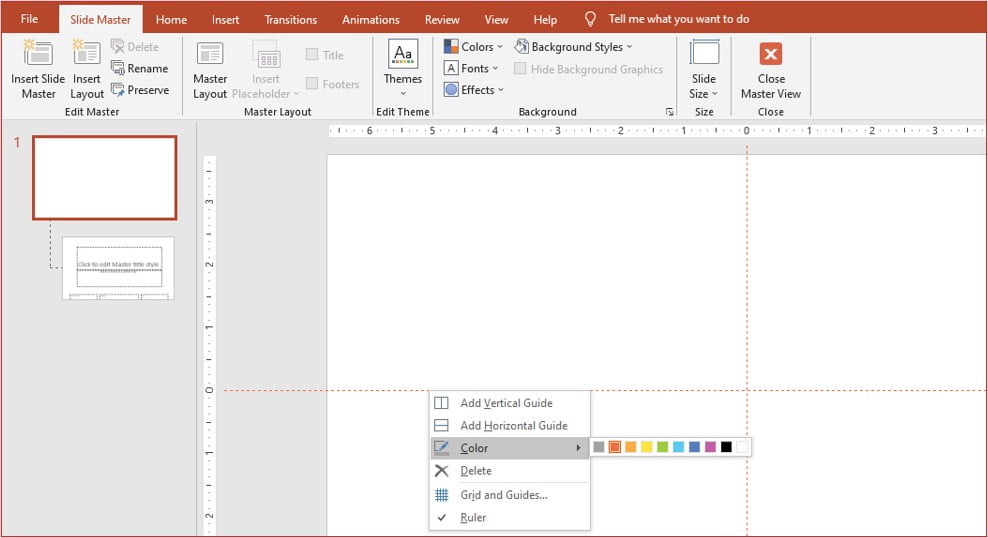
You can also change the color of the guides to make it easier to work with different slides. You can set the color of the guides as follows: right-click on a vertical or horizontal guide, click on the arrow to the right of the color, and select a color.
To remove a guideline, right-click on it and select Delete.
Title column
It is very important to customize this element in the template so that on all slides the title keeps its position and style.
The title text block is set on the main master slide. On other templates, the title will automatically appear in the same place and with the same settings as on the main template.
Text blocks
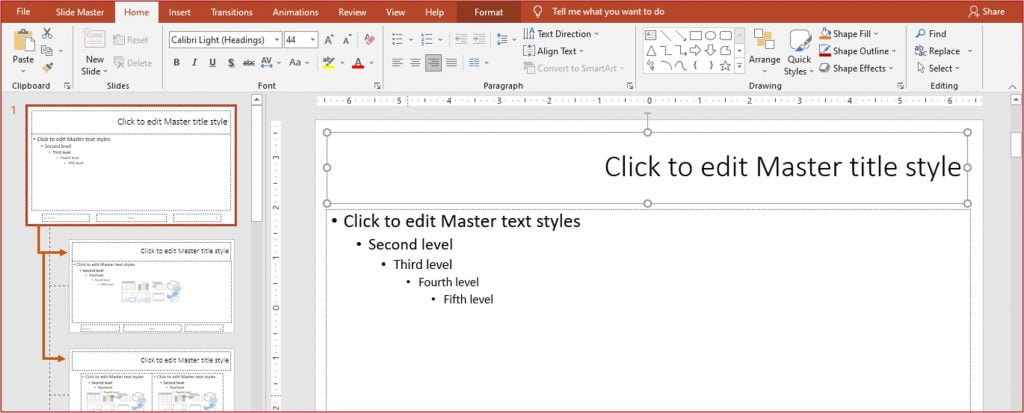
To make the text more readable, you can divide it into paragraphs with subheadings and use lists to highlight important thoughts. It must visually separate all these types of text from each other by defining their own style (size, font color, effects, etc.) for each.
In order not to remember each time which parameters you need to use, define all the styles in one text block on the master slide.
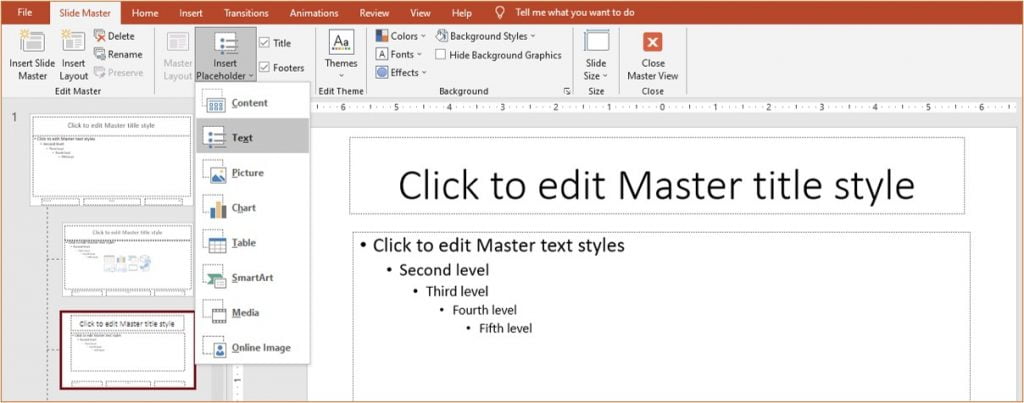
Create a new text box and style it using the same placeholder as for the “Title Box”.
To insert a text block into a regular layout, you must select the “Insert Placeholder” item in the “Slide Master” tab.
Important:
To apply text styles to your master slides, use the buttons in the Paragraph panel on the Home tab or on the menu that appears when you select text.
Image placeholders
Photographs have a strong emotional impact, so they are an indispensable element of a presentation.
We use them on the title slide, on the dividers, as illustrations on the inner slides.
To use your photos more quickly and conveniently in your presentation, place special placeholders for your photos in your template.
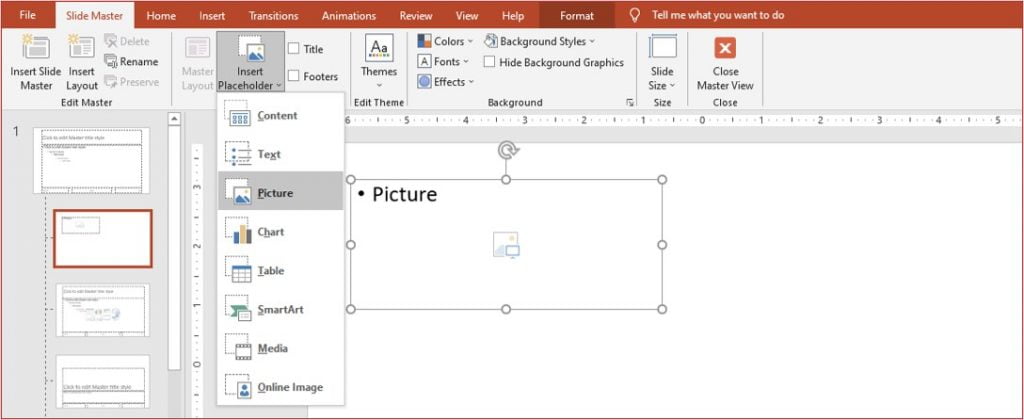
To add a photo on the main slide, drag the image from the computer with the left mouse button into the graphic placeholder, or click on the icon in the center of the placeholder and select the picture directly in the program window.
After selecting an image, use the arrow button on the Format tab to move the image or click on the image placeholder and dragging the mouse where you place it in your slide. To edit a ready-made slide, simply delete the image and insert a new one in its place.
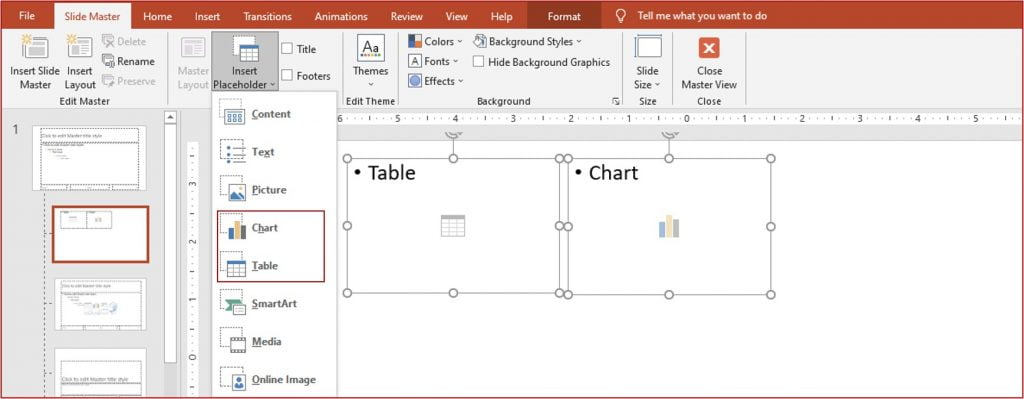
Charts and tables
You can also use placeholders to add charts and tables to your template, but this isn’t very useful. By switching to normal presentation mode, you can easily create a graph in the desired format on a new slide.
You need to remember a simple rule. How to arrange the colors in the theme palette, the colors displayed in the graph in the same order. This helps you create consistently styled graphics.
New Master slides
Several pre-prepared templates can allow you to change the style of the slide unrecognizably. For example, you can turn a bright slide into a dark slide with just a few clicks. Alternatively, completely change the slide layout by selecting only a different template from the list of available slide templates.
When creating a new slide, you can select the desired master slide in the “Home” tab, then the “New slide” item (you must click on the lower right corner to open the entire list of master slides).
The item “Layout” allows you to change the current master slide to another slide.
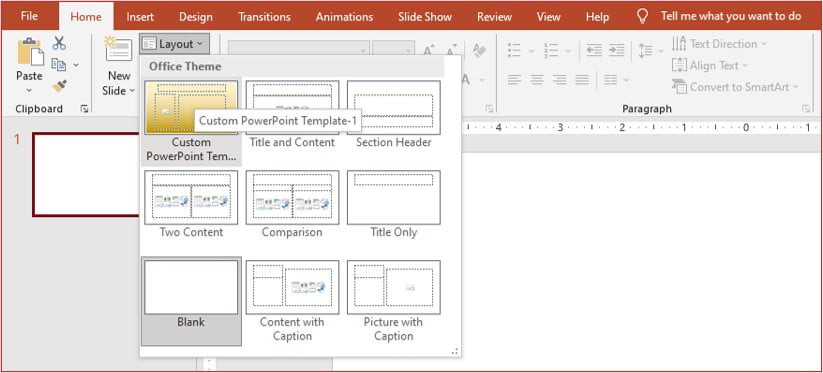
If the text formatting is out of order (for example, when pasting text), you need to use the “Reset slides” item.
Save a slide design (theme) as a template
When you save, your template becomes a theme, part of the program’s control panel, and allows you to create new slides and presentations in a consistent style quickly and easily. It’s much easier than creating a new presentation based on an old presentation each time and deleting and copying previously created slides.
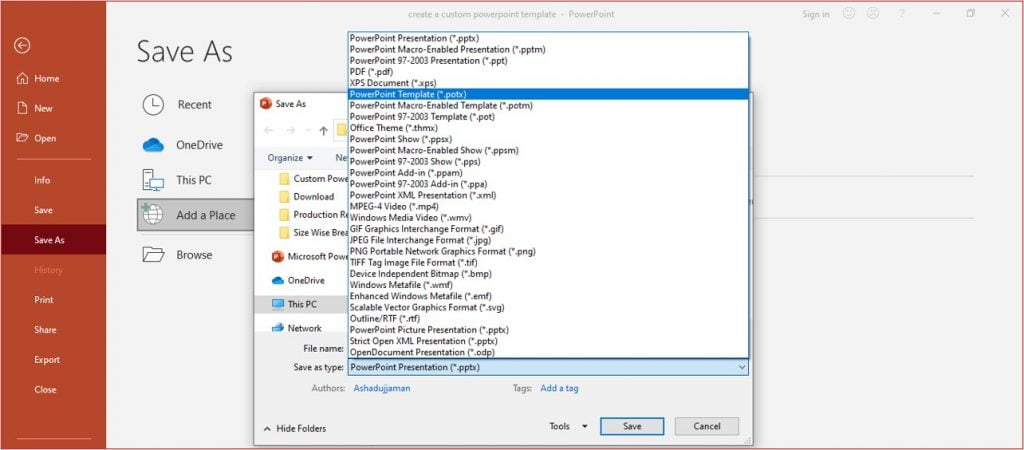
If you want to save a slide design (theme) as a template (.potx file), simply follow these steps:
1 Open the presentation in which you want to save the slide design (theme) as a template.
2 “Save As” from the File menu.
3 Click on “Browser“
4 Type a name for the template in the File name box in the “Save As” dialog box.
5 Select PowerPoint Template (.potx format) from the Save as type drop-down menu and then click “Save“.
Good luck with your new presentation!
Apply custom PowerPoint template to existing
As you know, if you create a PowerPoint presentation, the slides have a white background. To make the presentation more beautiful to look at it is of course possible to add backgrounds and themes to the slides, but we must do this for each slide which means wasting some time.
If you don’t want to waste time and apply a graphic template to the entire presentation, you can use your existing own customized template.
But how do you apply a template (usually it’s a .potx format file) to a PowerPoint presentation?
Below are the instructions on how to do it based on the version of Microsoft PowerPoint. To write this article I’m using Microsoft Office 2019 version.
1 Open / Create a new PowerPoint file
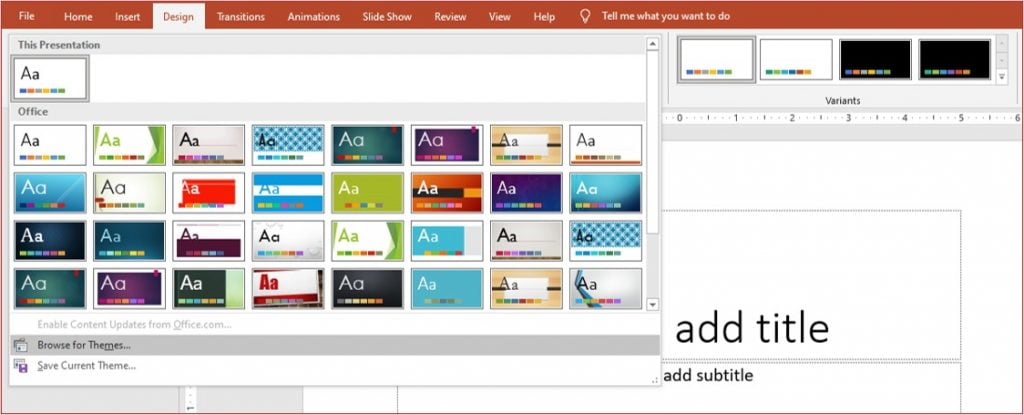
2 In PowerPoint, click on “Design” at the top.
3 Click on the down arrow and other options will appear.
4 Click “Browse for Themes…” to choose a custom template from your computer and apply it.


[…] sometimes you want to make some kind of custom shapes and a custom PowerPoint template that will charm the audience at the presentation. One way to do this is to use the PowerPoint merge […]