
Microsoft PowerPoint lines include straight line, arrow, double arrow, elbow connector, curved connector, curve, Freeform, and scribble. All of them work differently. In this article, we are going to explain each type severely.
Types of lines in PowerPoint
The PowerPoint Shape gallery offers five different line types in lines segment.
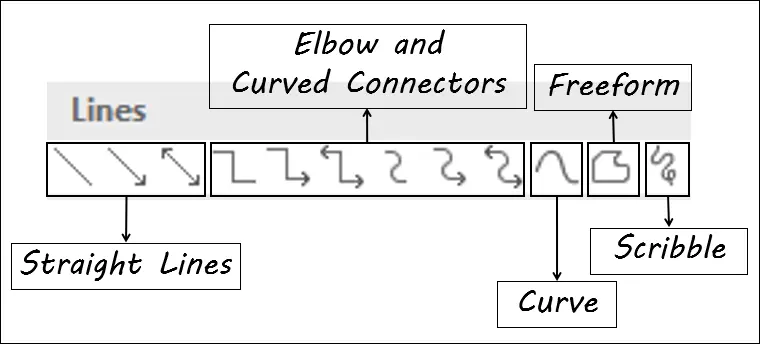
Type 1. Straight line: draw horizontal and vertical
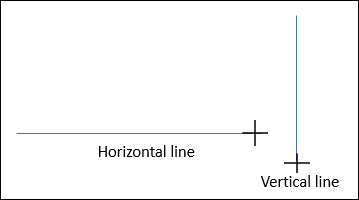
A straight line is quite difficult to draw horizontal and vertical lines manually. You can easily draw horizontal and vertical lines by holding down the Shift key while operating.
Open PowerPoint and select a blank slide where you want to draw your line, arrow, or double arrow. Go to the “Insert” tab, then the “Shapes” button in the “Illustrations” group. In the “Lines” category, click on the “line“ option.
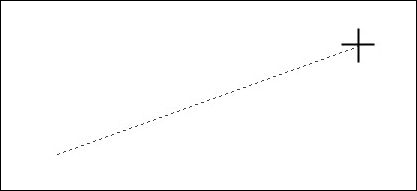
The cursor becomes a ‘+‘ symbol. Press and hold your mouse button, then drag to draw the line. Release the mouse button to finish drawing the line.
To draw a horizontal line on a slide using the straight line, arrow, or double arrow buttons, hold down the Shift key and drag left or right. Similarly, you can draw a vertical line by dragging it up or down.
Change the color of the line
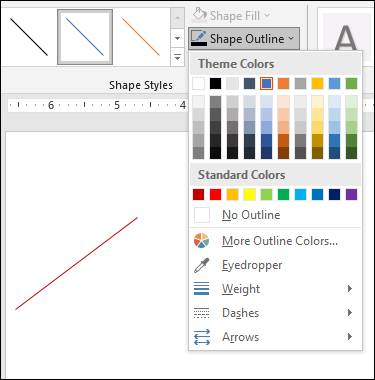
To change the color of a line, first click to select the line. In the “Format” tab, click on the “Shape Outline” button, then click on the color of your choice.
Changing the thickness of the line
To change the thickness of the line, select the line and click on the same “Shape Outline” button, point to the “Weight” menu, then click on the desired thickness.
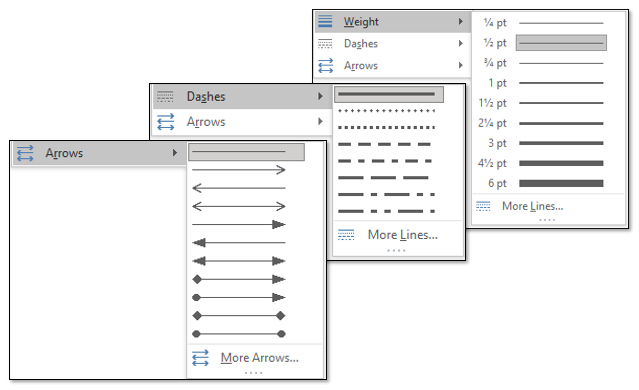
You can make a line with an arrow and dashes following the same process: select the line and click on the Shape Outline > Arrows/Dashes.
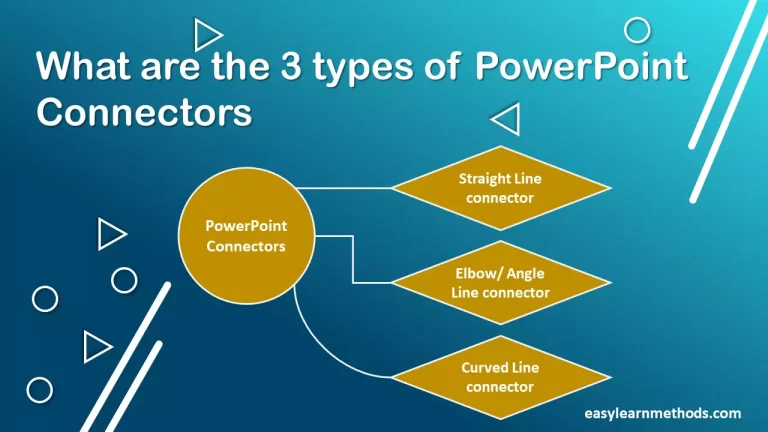
Type 2. Straight/Elbow and Curved Connectors
PowerPoint allows you to connect one shape to another shape. There are two types of connectors, one is “Elbow” other is “Carved“. They are great for connecting to the shapes you would use in creating charts or diagrams.
Suppose we have two rectangle shapes and we want a connection executed between them.
In the “Insert” tab, click on the “Shapes” button in the “Illustrations” group. In the “Lines” section of the drop-down menu, choose one of the connect.
To connect with them, hover your mouse pointer over the auto shape you want the arrow to come from, and you will see the handles on the edges of the shape turn gray that’s called “connector pointers“.
Click on one of these gray handles and drag (holding your mouse down) to start creating the connection.
Move your pointer over the shape you want to connect to the other endpoint and you’ll see the gray handles appear as well. Choose any pointer and keep your mouse to make the endpoint of the line.
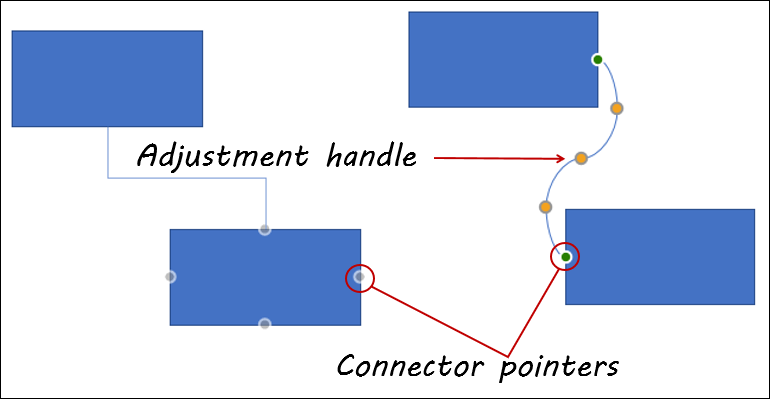
You have now connected two shapes with a straight line and curved connectors.
Type 3. Curve line: How to make it?

The figure above is the completed drawing of the curved arrow. The following describes how to create a curve line.
Select Curve
In the “Insert” tab, go to the “Shape” button, and click “Curve“.
Creating a curve line
Left-click the start point, then Left-click the curve part, and finally double-click on the endpoint.
How to adjust the curve well?
Select the curve and right-click> Edit Point.
A black square dot will appear. Click on this black square dot to, A white square will appear like an antenna.
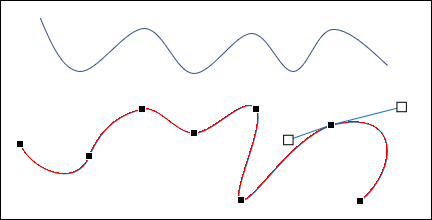
You can adjust the bending of the curve by left-clicking on this white square and moving it to change the angle.
You can adjust the length and size of the curve by moving the ■ black square.
Type 4. Freeform: How to draw
A Freeform is a design made up of both curved segments and straight segments. Activate the slide you want to draw on.
Click the “Shapes” button in the “Illustrations” group on the “Insert” tab or use the shapes gallery in the “Drawing” group on the “Home” tab.
In the “Lines” category, click on the “Freeform” tool for the drawing to be made a shape:
With the mouse, to draw a Freeform, make successive clicks for each straight segment to be drawn.
To finish the drawing, double click at the location of the last point (the shape will be open) or click on the starting point (the shape will be closed and therefore colored).

Type 5. Scribble Line
This technique is not possible with a touch device. Activate the slide you want to draw on.
Click the “Shapes” button in the “Illustrations” group on the “Insert” tab or use the shapes gallery in the “Drawing” group on the “Home” tab.
In the “Lines” category, click the Scribble icon.
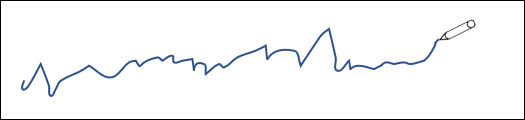
The mouse pointer takes the shape of a pencil. Click and drag to draw, like with a pencil. Release the mouse button when the drawing line segment ends.
Thank you for spending so much time with us. Simply write a comment on the page if you have any questions about this article. We’ll get back to you as soon as possible with the correct response.

[…] squares, circles, and ovals. To define the relationship between the two shapes, you can insert some lines that connect them. These lines are called PowerPoint connectors, and it remains even if you move […]